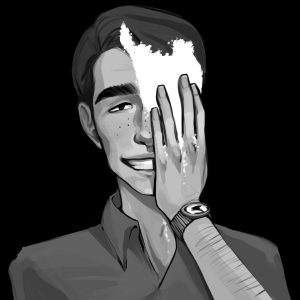
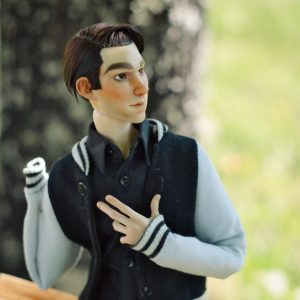
Do you like how I walk? Do you like how I talk? Do you like how my face disintegrates into chalk? (April 2022)
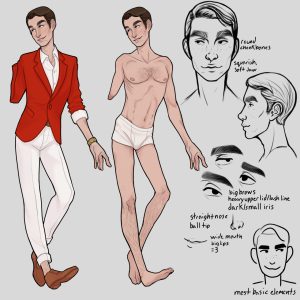
Updated Tennant ref sheet (that I will finish eventually) (February 2022)
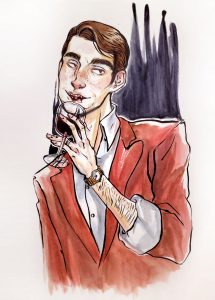
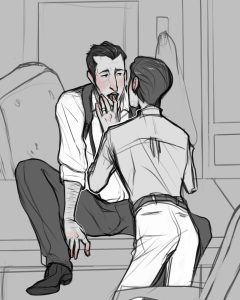
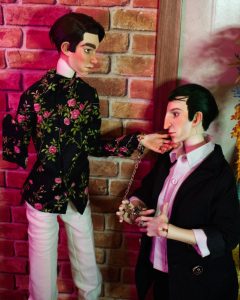
Wine ( January 2022 )
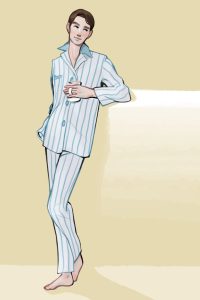
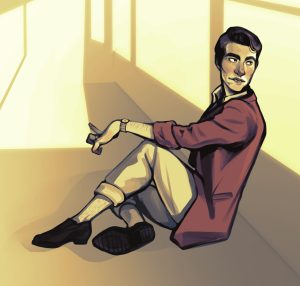
Tennant (based on a catalog drawing of Alan, November 2021)
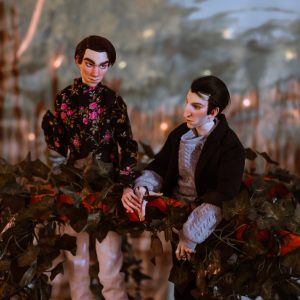
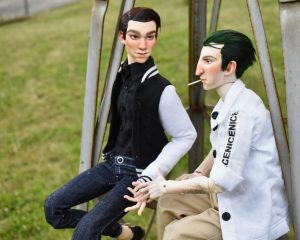
Daniel and Tennant at Resin Rose 2022
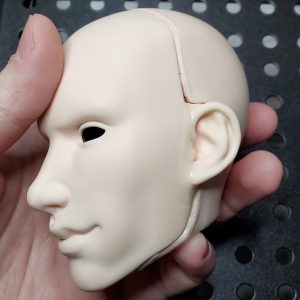
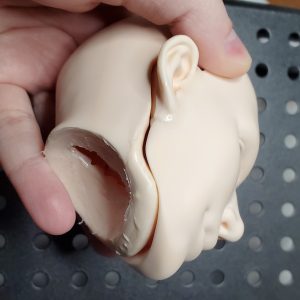
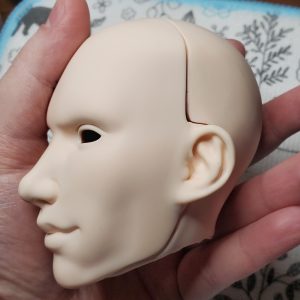
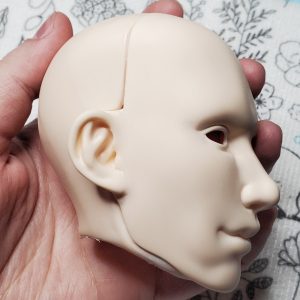
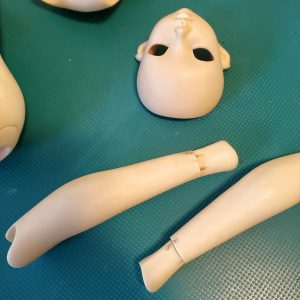
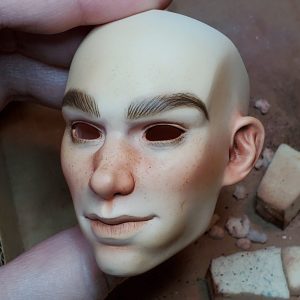
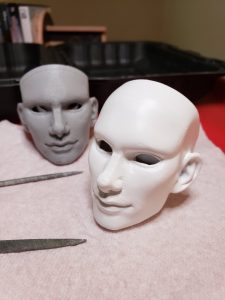
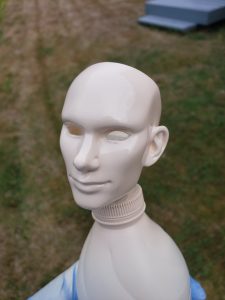
I wasn’t happy with the fit of the glued pieces on 70cm Tennant’s head, so I attached the ears and filled in some of the gaps with Milliput. This was better, but then I also remembered that I could use some of the same UV resin I printed with to cover up the Milliput bits. After sanding it looks much better!
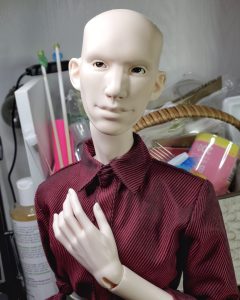
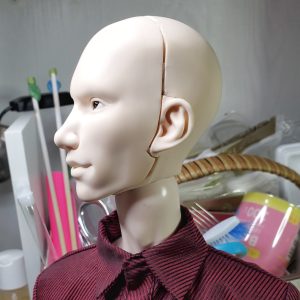
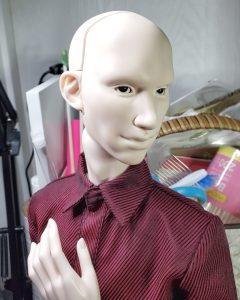
This is another project I’ve had going for a while… Tennant but Big! The faceplate is the full width of my printer so I did the ears as separate pieces. I got this Charmdoll body (72cm) in the older opaque resin and I like it but in photos the neck looks a bit thin for his jaw. (It doesn’t look as bad IRL so I I have no idea, haha.) I sanded the jaw down a bit, which was easy enough to do since this is the first print I’ve done where I’m trying to use the actual printed resin as the final surface – many thanks to @aishavoya for giving me a tip about using the white resin pigment ages ago. There’s also a bonus digital mockup and a bonus shot of the first try at the faceplate where I seriously undershot on how much resin I needed in the vat.
1. Custom 3D printed resin head on a Charmdoll 72cm body body in old resin pink

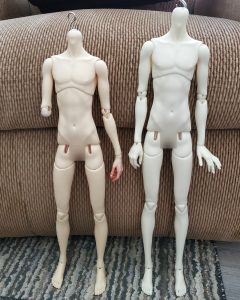
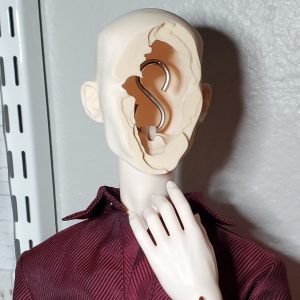
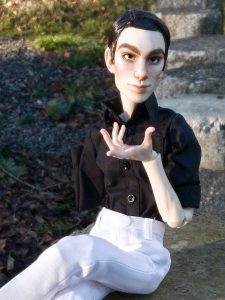
Also in that last post, but I received the Dream Valley body in yellow for Tennant, so naturally I went right about cutting it up, haha. He was way too tall compared to Daniel and Conchita. He’s still a bit too tall but any further height would be harder to remove. I removed a chunk from the ankles and shortened the neck.
It wasn’t too hard, just a lot of sanding to smooth it out. I did it once before on a Resinsoul body and used Milliput to connect the pieces which I think was less visible, but I got lazy here and used superglue since I could always Milliput later.
What I did was stick the calves onto the feet, then draw two level lines around them by holding a pencil parallel to the table and rotating the calves. I drew perpendicular lines across (like a train track) and also marked the back center to keep things lined up. I cut the pieces out with a Dremel (saw might’ve been better but I don’t have a good one) and used a coarse sandpaper flat on the counter to get the edges flat and even. I glued them together by lining up the back center lines and the internal channel, then sanded it smooth.
1. Dream Valley B4-04 51cm boy body in yellow with mods and Dollshe 18M Fashion Maxi Mystic hand in Oriental
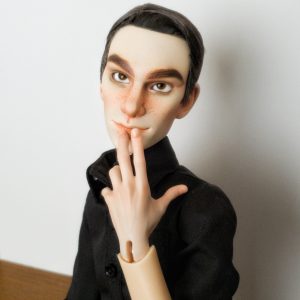
2. Custom 3D printed head and body with Resinsoul Tang limbs and Dollshe 28M Fashion Maxi hands
3. Dream Valley B4-04 51cm boy body in white, unmodded
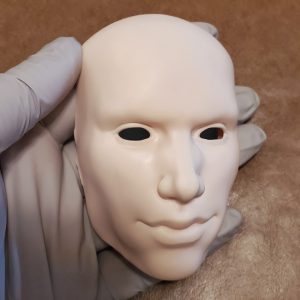
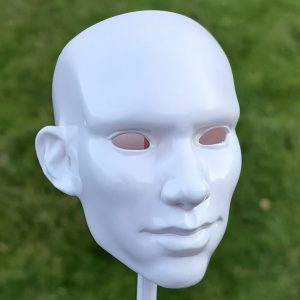
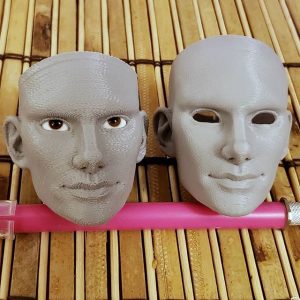
This is a bit different, but I’m making a tweaked Tennant
doll head sculpt to print at a larger scale and I wanted to hear if
anyone has some thoughts/critique/suggestions on the face sculpt/anatomy
before I commit! I’ll add some asymmetry near the end. The shoulders,
hair and polypaint are just to help visualize.

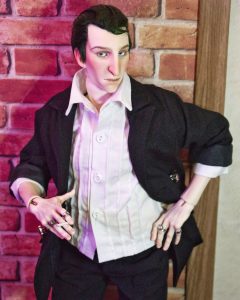
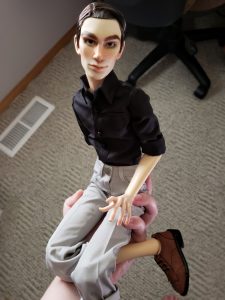
More recent photos of Daniel, mostly to show off his new rings. Also there you can see that Tennant on the Dream Valley body is way too tall, haha. When his body in the right color arrives I’m going to shorten the legs.

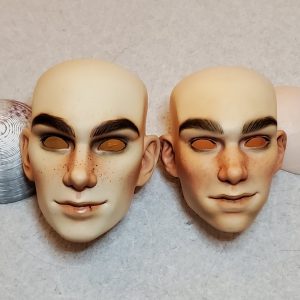

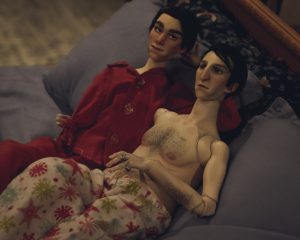
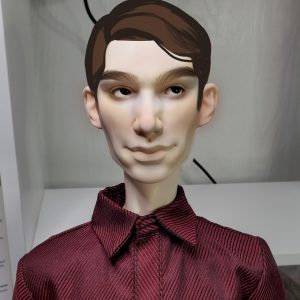
Also from late 2019 to Summer 2020, here’s Tennant 2.0, which I worked on alongside Daniel. His head sculpt is a lot more refined compared to the first version, and more appropriately scaled. Like Daniel, he’s printed on my Anycubic Photon, primed, and airbrushed. I think it’s cool to see how much I’ve improved at faceups as well! I did go back and darken his brows a bit when I replaced his eyes. I’m very pleased that these two look good together now.
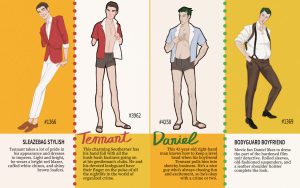
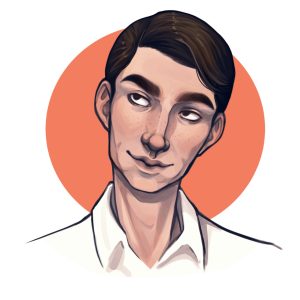
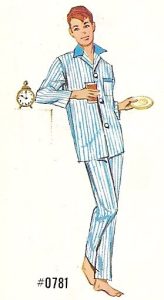
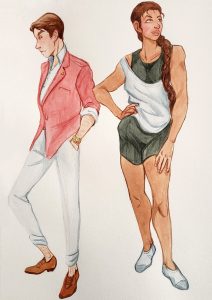
( January 2021, character refs as vintage Barbie/Ken/Alan catalog art… I really like this one. )
3D printed Tennant BJD, mk 1, from 2018! He was originally made for a Resinsound Tang body with Dollshe hands, then I got him an Akagidoll body later. He was sculpted by me in Sculptris and finished in Blender. I printed him on my Monosprice Maker Select Plus and finished the head with putty, spray can primer, lots of sanding, and a terrible thick coat of Krylon spray paint. His hard cap wig is saran and very much glued in place, haha.
I’m still pretty proud of him honestly, but I made a version with a refined sculpt, smaller head, and resin print later.
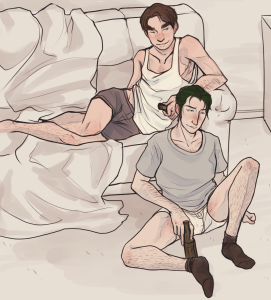
( 2020, younger Tennant and Daniel )

( 2019 )
( 2019 )